| Effect With Settings | ||
|
This example shows how to perform a simple AutoLevels effect on an image held in an ImageGlue Canvas. To make things a little more complicated we'll adjust the AutoLevels clipping setting before applying the effect.
|
| Create a Canvas | |
|
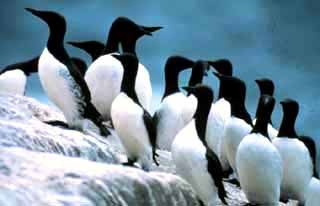
To start with you need an ImageGlue Canvas. We'll just create one and put a picture of some birds into it.
|
| Apply the Effect | |
|
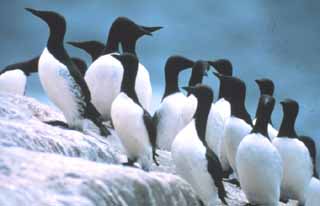
Next we apply the AutoLevels effect to the image. The default clip setting for the Effect is 0.5 so we increase it to 5.5 percent.
|
| Save the Image | |
|
Finally we save the adjusted image.
|